LAYERING DIPPING GLAZES
Layering your dipping glazes is one of the most exciting ways to bring depth, texture, and unpredictability to your pottery. It’s a creative process that combines technique, chemistry, and a touch of serendipity.
Every piece becomes a one-of-a-kind expression of your artistry.


Tips FOR layering glazes

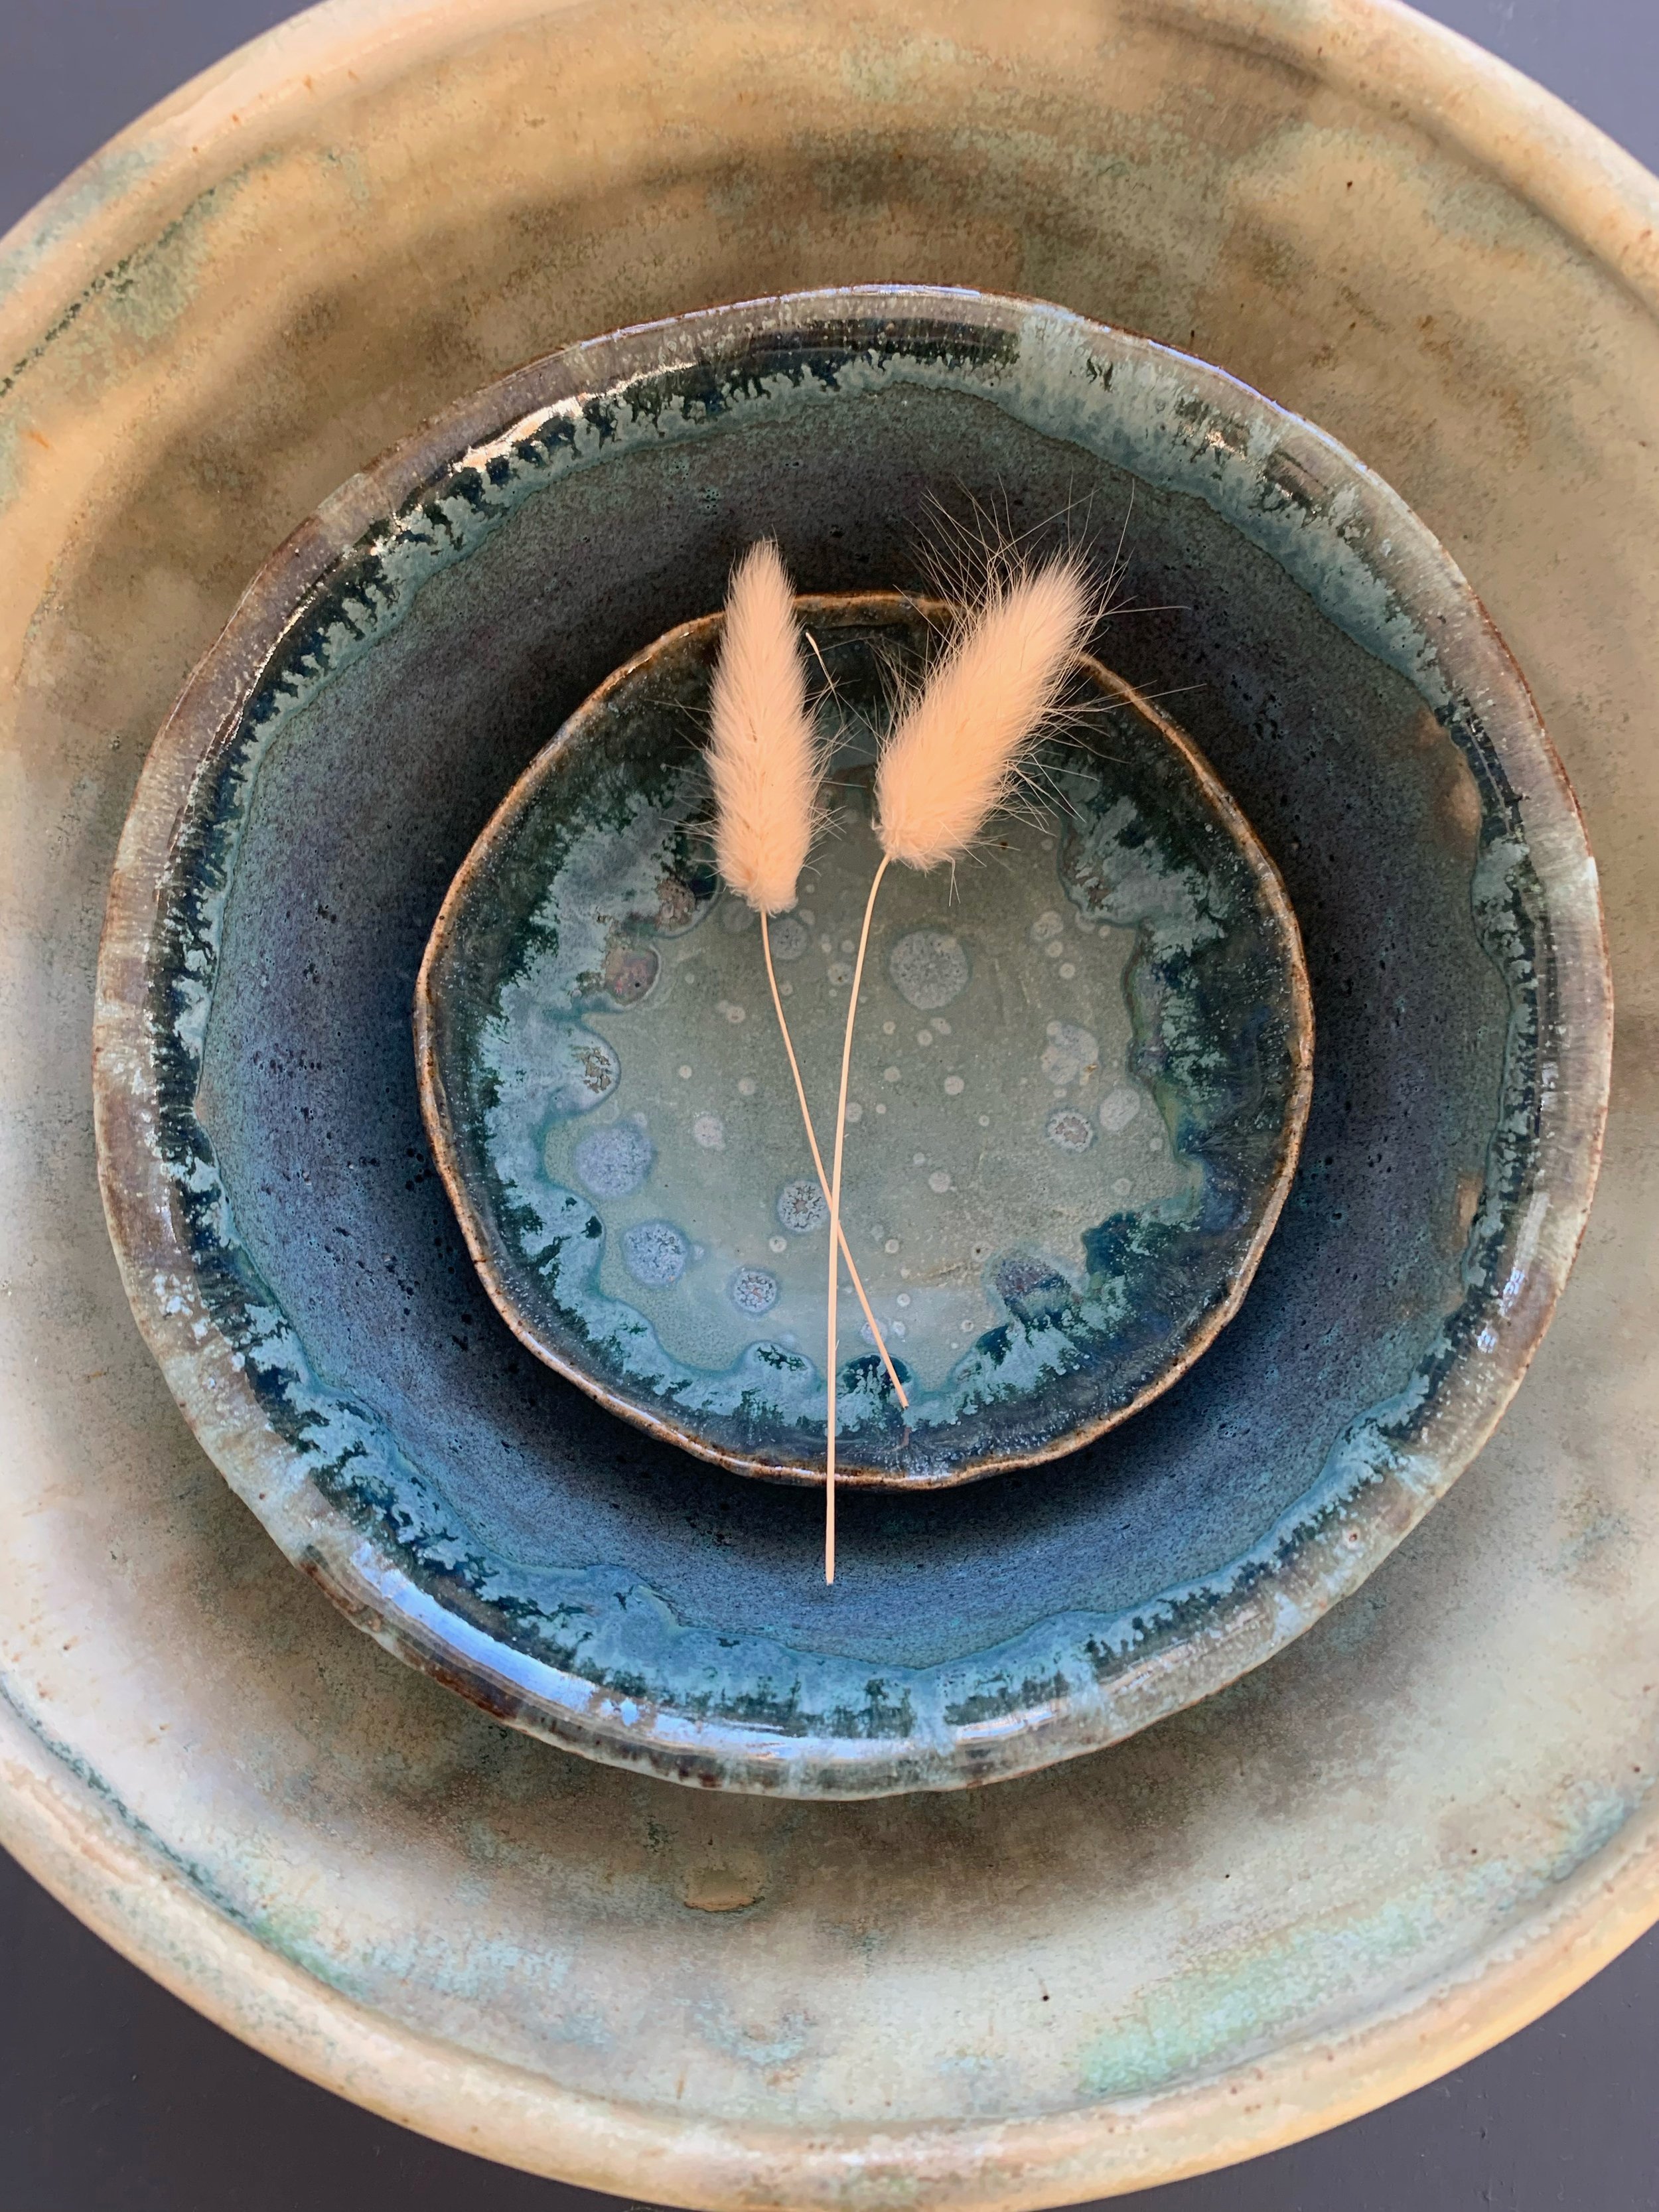
When layering glazes, you’re essentially allowing two (or more!) glazes to interact in the kiln, creating fascinating overlaps, pooling, and breaking effects. A smooth, glossy glaze might reveal speckling or crackling when paired with a matte or translucent layer.
The possibilities are endless for creating fun experiments!
Get started with layering:
Know your glazes
Before combining glazes, make sure to test your glazes individually. Understand their firing range, the application thickness needs, and the way they react to your clay body.
Application techniques
Do a quick dip of your entire piece on your first glaze, ensuring even coverage. It is important to let it dry before adding the next layer (the capillary suction won’t work properly otherwise and you might end up with glaze flaws).
Capillary suction is the term for your bisqueware’s ability to absorb moisture from the glaze. If capillary suction is good, then the glaze particles will be packed densely and you will have fewer issues with an uneven glaze application and pinholes.
When layering your second glaze, make sure that you only do a quick dip. Most often when layered glazes tend to run, it is simply because it is layered too thick. So shoot for an ultra thin layer.
You can experiment with dipping: the top half, just the rim, the whole piece, or try dipping your piece at an angle to create diagonal layering. It’s all up to you.
Experiment with glaze application thicknesses
The thickness of each glaze layer matters. A thin under layering glaze can allow the glaze on top to dominate, while thicker under layers may result in more dramatic interactions.
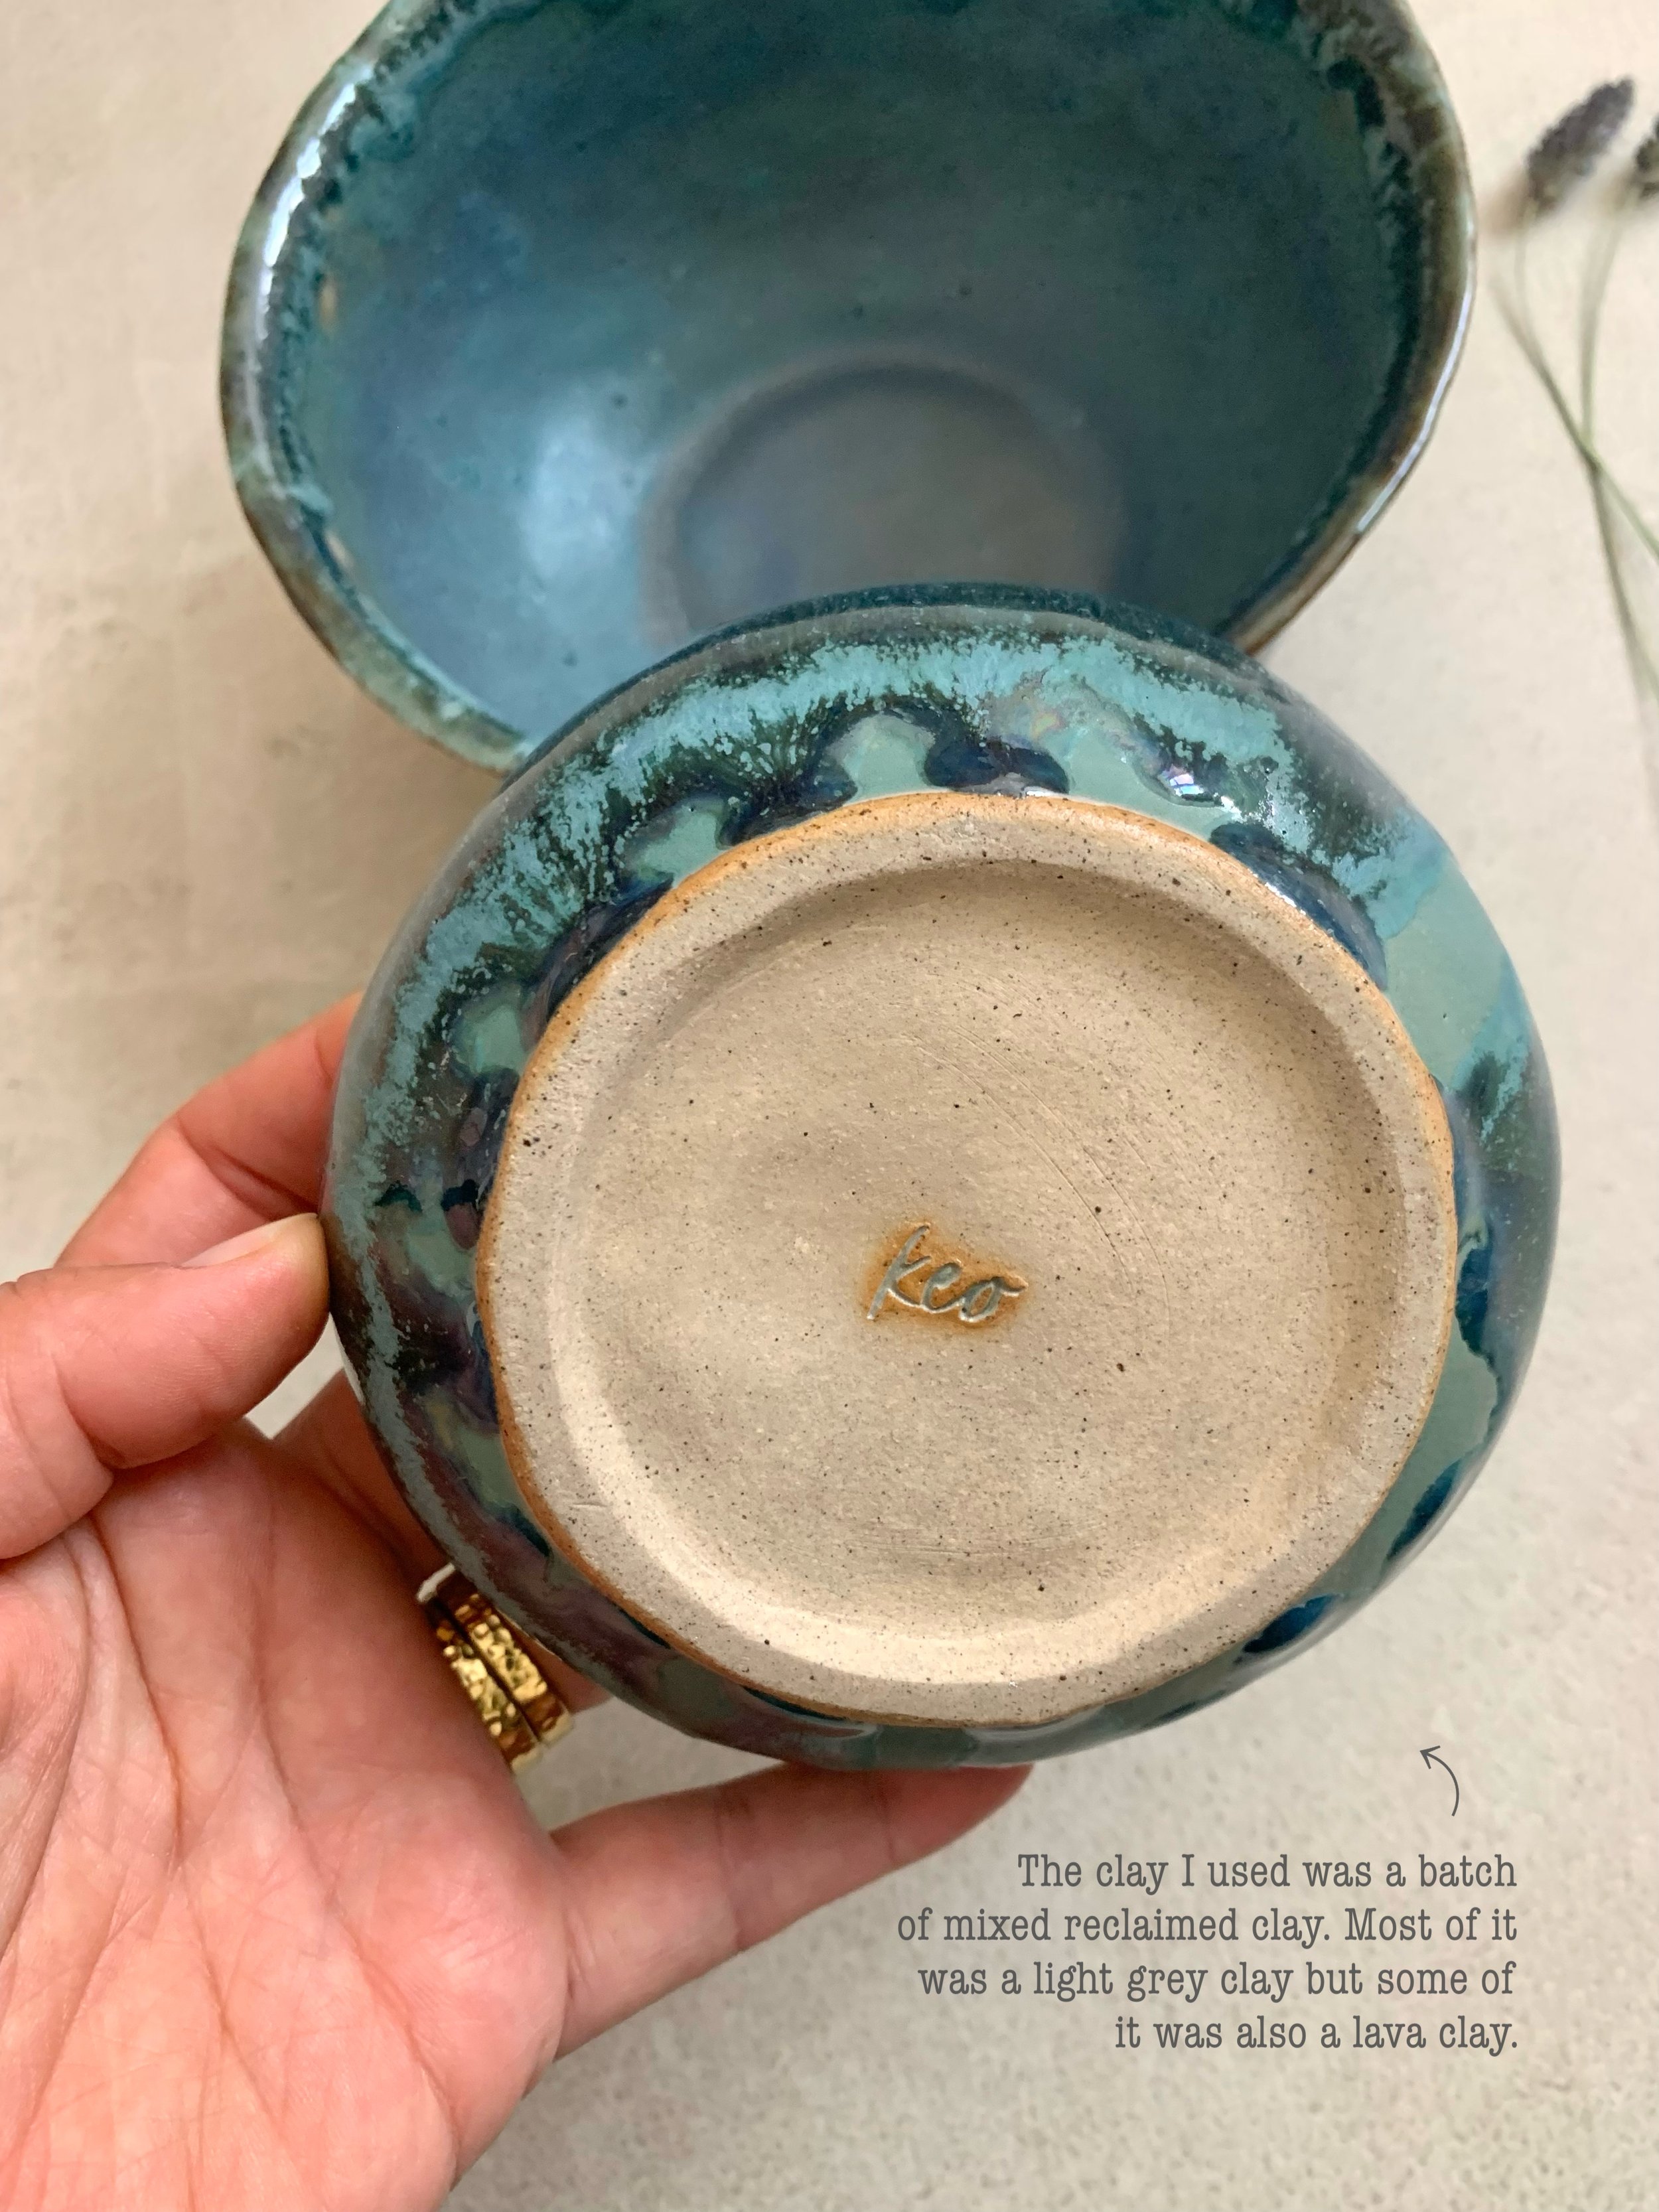
I do recommend that you leave the bottom 2 cm / 1 inch of your piece clear of glaze while you experiment with glaze layering techniques. Furthermore, I recommend always using a kiln cookie 🍪 underneath your pieces while firing them. This prevents pieces from fusing with the kiln shelves if the glaze does run.Experiment with glaze layers
Your finished glaze result may change dramatically depending on which glaze you choose to put on top and which underneath. Despite using the exact same glaze combinations; the finished colour, texture, and effects you get may be completely different. Therefore, I recommend testing the glaze combinations with each one of the glazes as the top layer to see which layering order you like best.